Building a GraphQL API with DynamoDB & AppSync/Apollo/Amplify

Written by Chameera Dulanga
Published on March 7th, 2022
Time to 10x your DynamoDB productivity with Dynobase [learn more]
GraphQL is an open-source data query and manipulation language for APIs. It provides a complete description of the data in an API and gives the API clients the power to ask for exactly what they need.
Combined with DynamoDB, GraphQL provides a powerful combination to build web applications. This article provides a step-by-step guide on different methods of using GraphQL with DynamoDB and the best practices to follow.
How to Setup DynamoDB with GraphQL using AWS AppSync
AppSync is a fully managed Amazon web service that helps developers build GraphQL APIs. Integrating a GraphQL server with AppSync is straightforward since it provides a sample template.
Step 1 - Create a new API
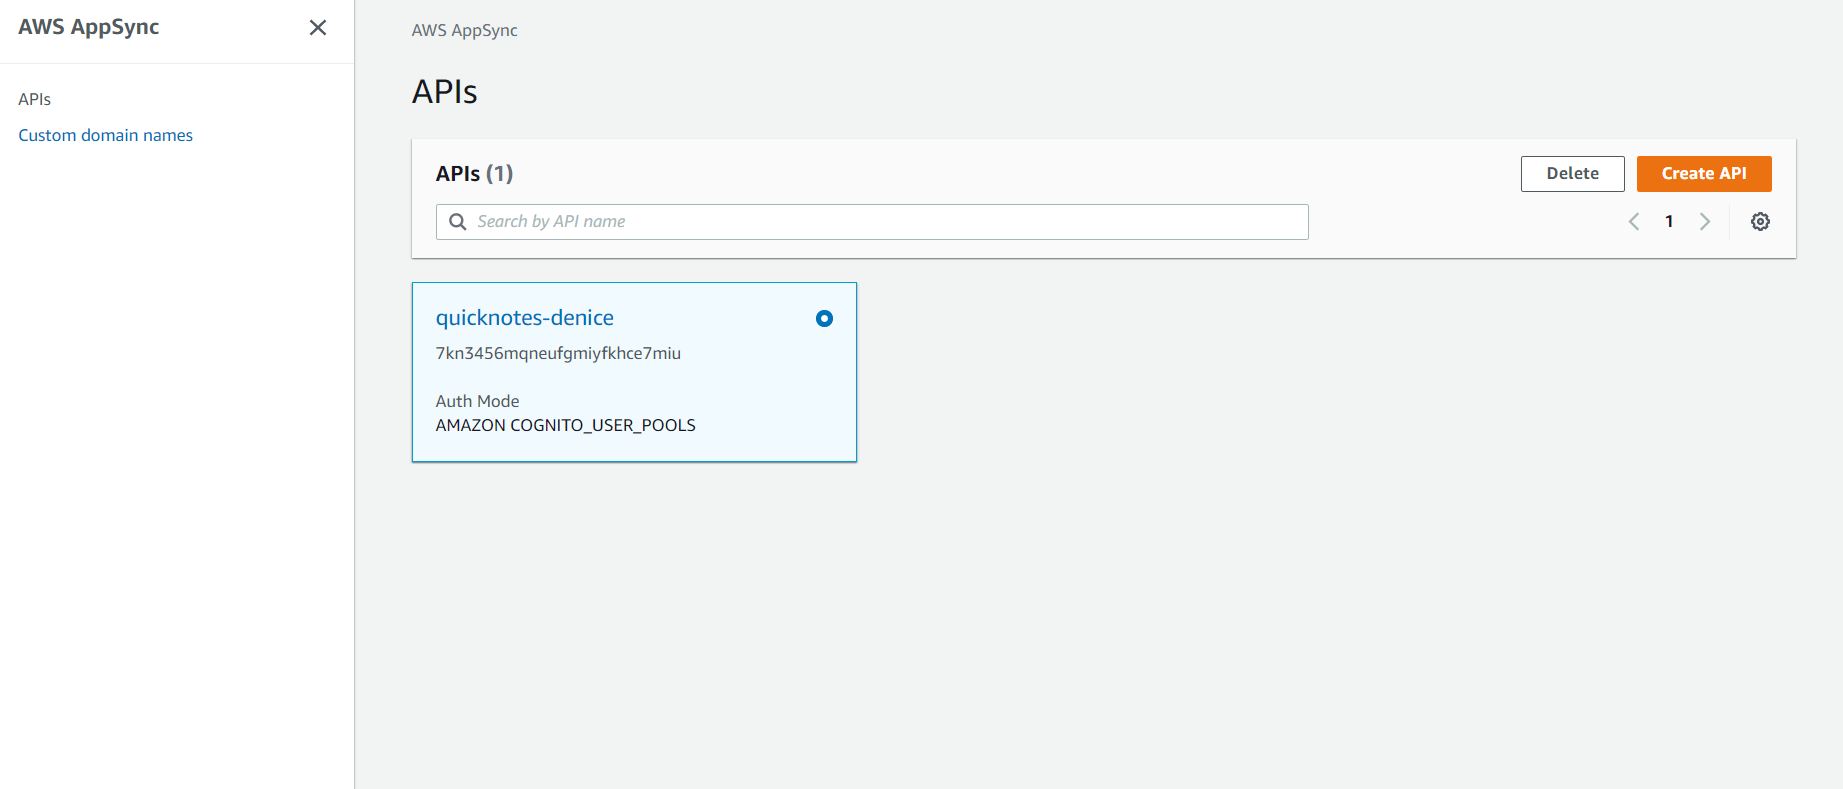
As the first step, you need to select AppSync from the AWS dashboard and click the Create API button.
There, you will get 3 options to customize the API and 4 sample project templates to choose from.
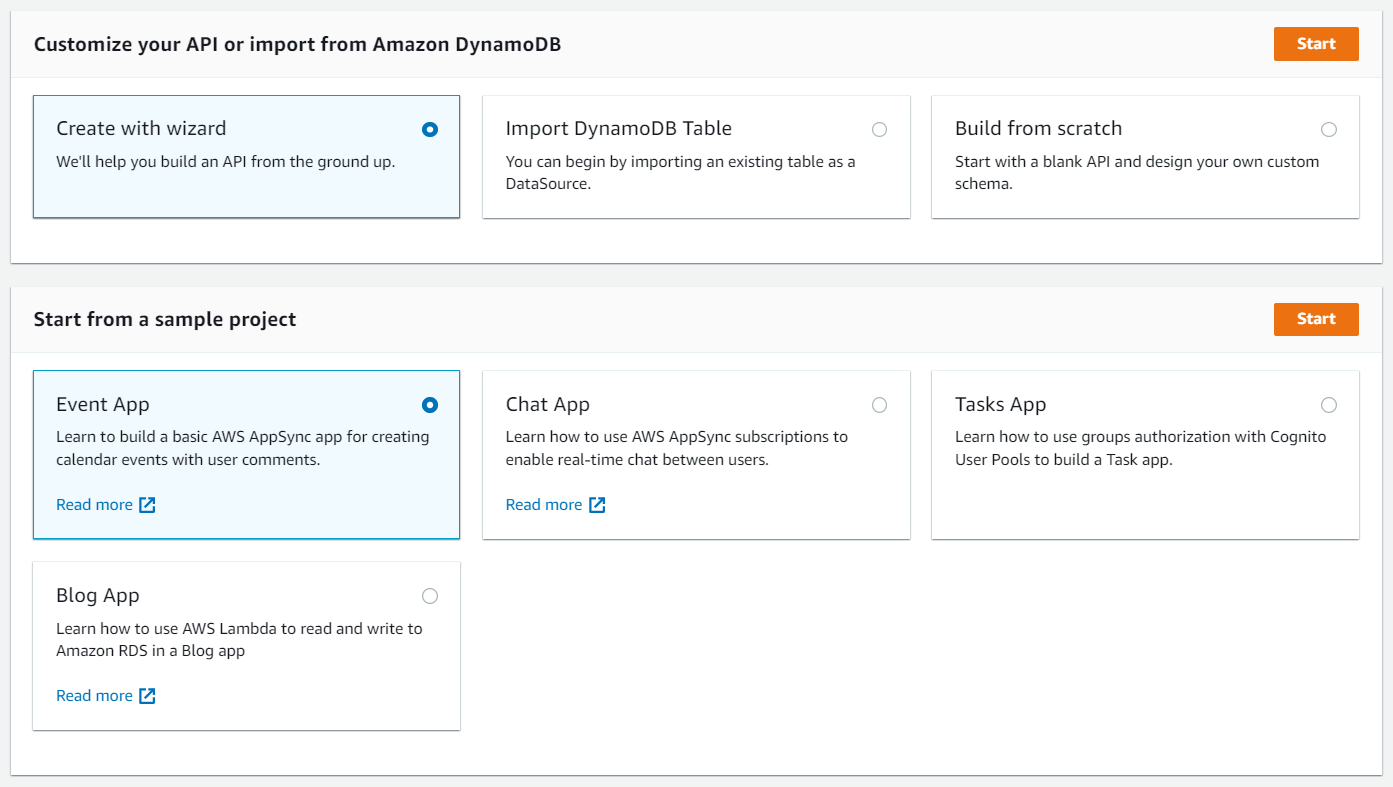
You can select the Import DynamoDB Table option if you already have a DynamoDB table that can be used as a datasource. Otherwise, select the Create with Wizard option since it helps you build your API from scratch.
Step 2 - Creating a Model
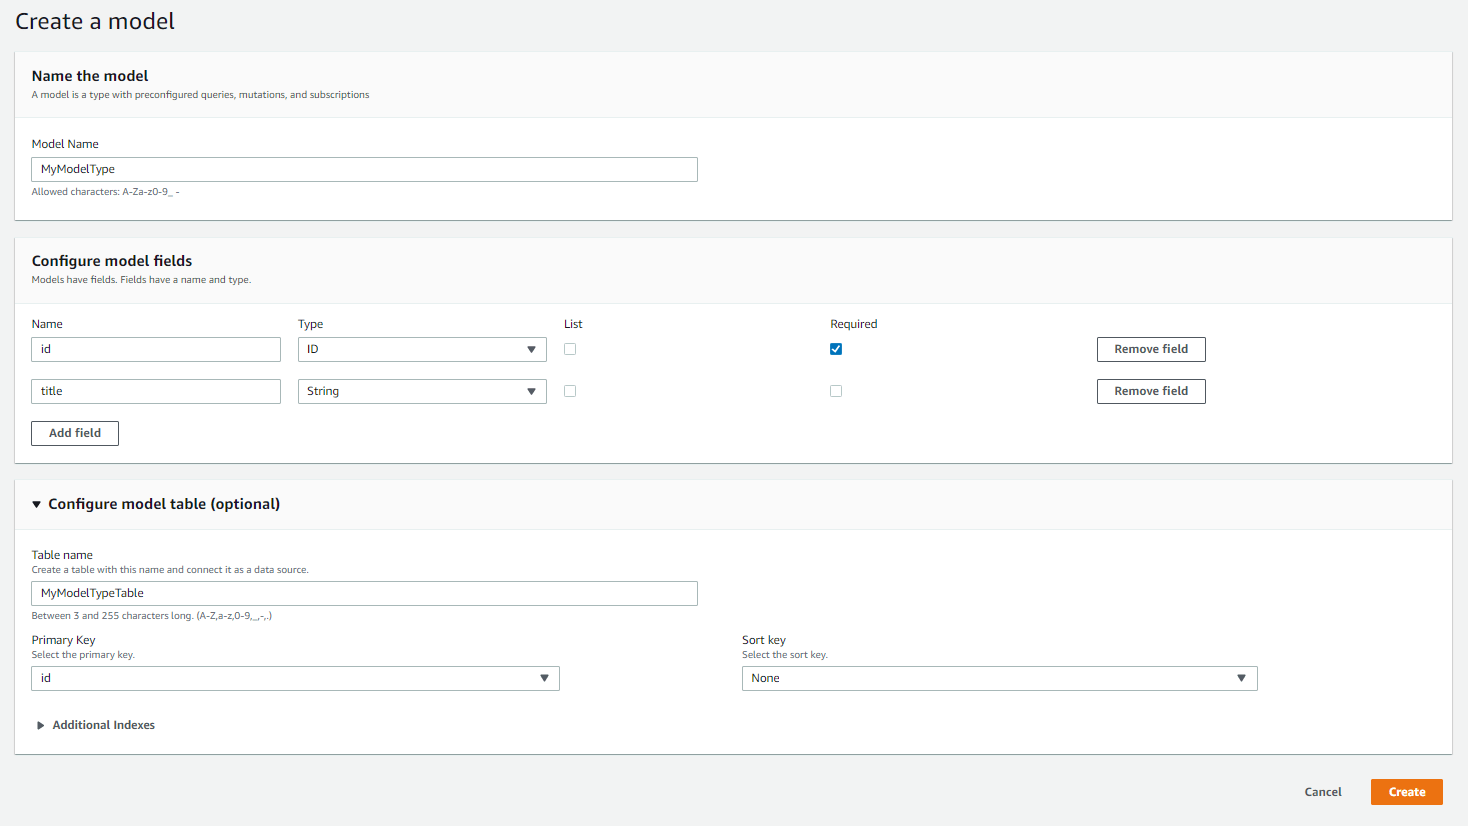
After selecting the Create with Wizard option, you need to create a new model. There, you can define a name for the model, customize the field names, and choose the primary and sort keys.
Step 3 - Create Resources
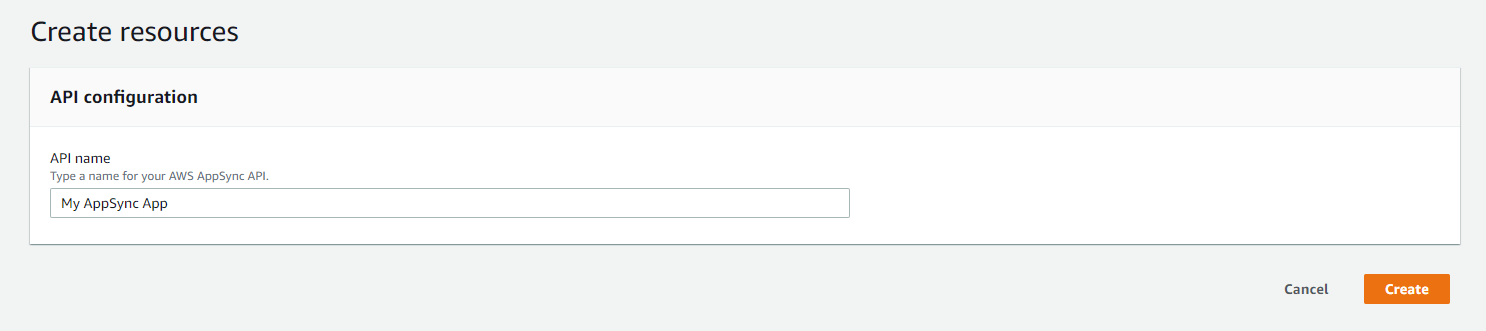
Finally, you can give a name for the API and finalize the wizard.
It will take a few seconds to create the API, and once done, you will see a UI like below:
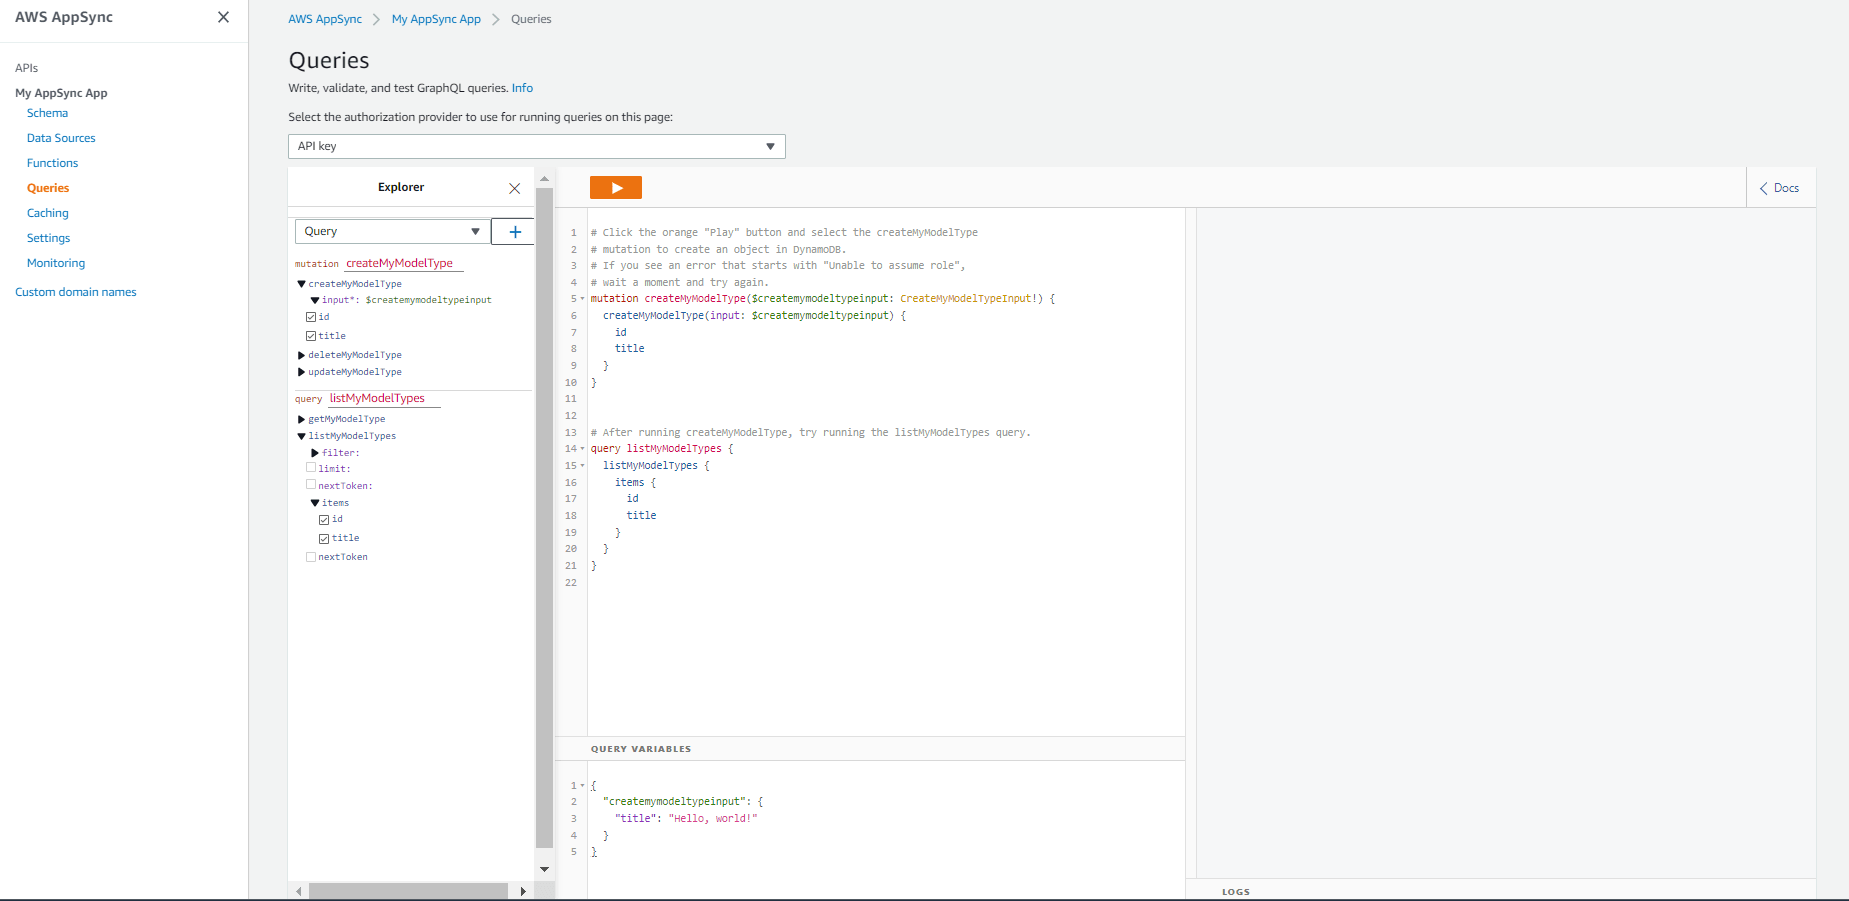
That’s it! You have created your first GraphQL API and connected it to DynamoDB. Now, you can start writing queries to read from and write to the DynamoDB table.
How to Setup DynamoDB with Apollo GraphQL Server
Apollo Server is an open-source GraphQL server. It is compatible with any GraphQL client and is one of the best methods to build production-ready GraphQL APIs. Here, we will discuss the steps of using DynamoDB with Apollo GraphQL Server.
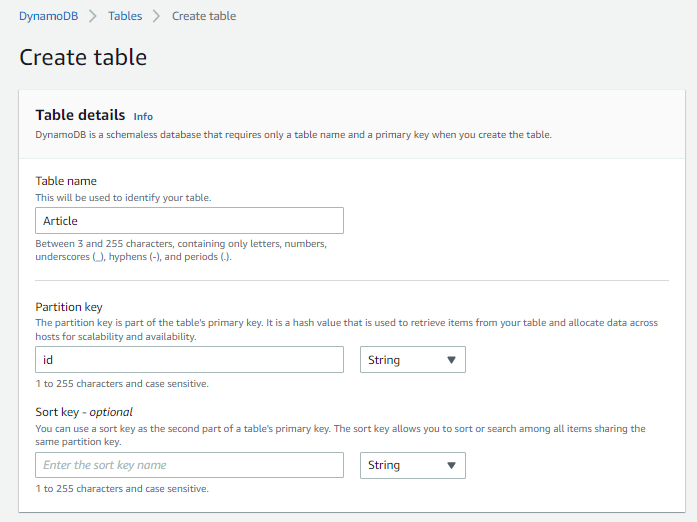
Step 1 - Create a DynamoDB Table
First, you need to select DynamoDB from the AWS dashboard and create a new table. You can enter a table name and a primary key for the table there.
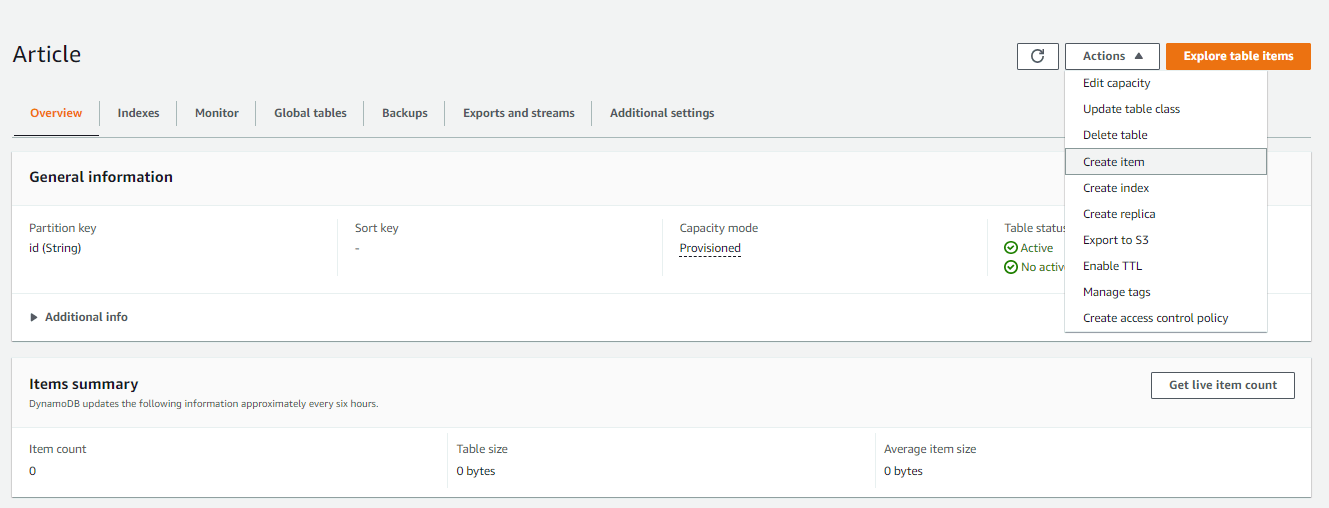
After creating the table, you can create a new record and test the table by selecting the Create item action.
Step 2 - Configuring the AWS Profile
Since we are accessing AWS services, we need to configure an IAM user with the necessary permissions. For that, go to the AWS IAM console and add a new user. Please make sure to enable Programmatic access and attach AdministratorAccess as the permission policy.
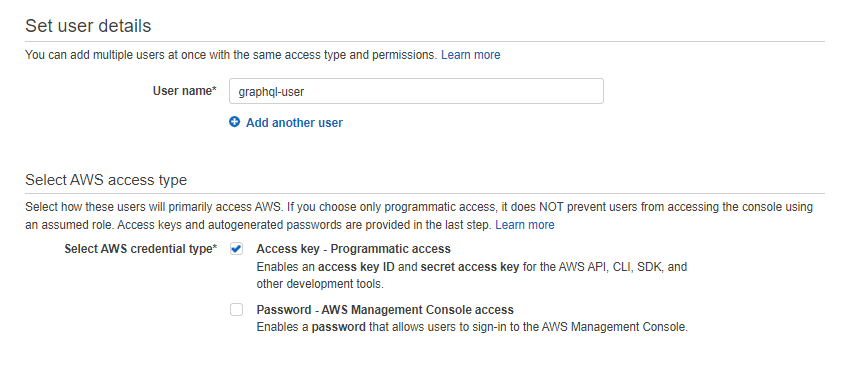

In the end, you will receive an Access key ID and a Secret access key. These two keys are used to configure a new AWS profile on your local machine.
Run aws configure --profile graphqluser on the command prompt, and it will request a few details, including the Access key ID, Secret access key, and AWS region. Now, you should have two profiles as default and graphqluser in your system.
Step 3 - Setting up the Apollo Server
In this step, we will be setting up Apollo as a standalone server. For that, you need to initialize a new NPM project using the npm init command and create a package.json file. Then, update the package.json file with the below content and run npm install to install the dependencies.
Then, create a new file named server.js and update it with the GraphQL schema to get data from the DynamoDB table.
Here, we have used the AWS SDK to access DynamoDB. DynamoDBClient() allows us to create a DynamoDB client, and ScanCommand() is used to read all the records from the table. You can run this server locally with the node server.js command, and the GraphQL instance will be available at localhost:4000.
How to Setup an Existing DynamoDB Table with GraphQL using AWS Amplify
AWS Amplify is a set of tools and features that allows developers to build web and mobile applications on AWS quickly. Here, we will not go into configuring GraphQL with AWS Amplify since you can find all the necessary details on Amplify documentation.
However, most developers are not familiar with using the amplify import storage command to import existing DynamoDB tables or S3 buckets. If you are importing an existing DynamoDB table, all you need to do is select the DynamoDB table - NoSQL Database option when running the amplify import storage command.
Both the Amplify project and DynamoDB table should be in the same region to successfully complete the import process, and if there are no issues, you need to run amplify push to finalize things.
Best Practices for Using GraphQL and DynamoDB
As mentioned earlier, GraphQL and DynamoDB is a powerful combination for building websites. On the other hand, developers often avoid using this combination, considering it is complex and not suitable for small-scale projects. However, this is not entirely true, and we can easily work with GraphQL and DynamoDB together if we follow best practices.
1. Use access patterns
Access patterns or query patterns define how users and systems access the data to satisfy business needs.
In relational databases, data is normalized, and we use various joins to combine data. But, in DynamoDB, we do not have joins. Instead, we build a data model that matches our intent to access it. This is an iterative process, and the goal is to identify the most frequently accessed patterns.
Most of the access patterns will directly map to a GraphQL query, and implementing frequently accessed patterns will increase the efficiency of the queries.
2. Use the single table design
In DynamoDB, you can only query based on the primary key or pre-defined indexes. Tables do not have a pre-defined schema, and different types of data can be stored in a single table. In fact, it is the recommended way to store data in DynamoDB since it allows access to all the related items with a single query.
3. Avoid over-fetching and N+1 problem
Over-fetching and the N+1 problem are the two most discussed tradeoffs when comparing SQL with DynamoDB. Over-fetching is when a resolver requests more data from the database than it needs. The N+1 problem is the opposite of over-fetching, and it pushes all the reads to the lowest level resolver.
We can optimize both these issues when using GraphQL with DynamoDB by using smarter resolvers higher up to match the access patterns of the database table.
4. Use DynamoDB Streams for Real-time Updates
DynamoDB Streams can be used to capture changes to items in a DynamoDB table. This can be particularly useful for real-time applications where you need to keep your GraphQL clients updated with the latest data. By integrating DynamoDB Streams with AWS Lambda, you can trigger functions that update your GraphQL API in real-time.
5. Implement Fine-Grained Access Control
When using GraphQL with DynamoDB, it's crucial to implement fine-grained access control to ensure that users can only access the data they are authorized to see. AWS AppSync provides built-in support for authorization using API keys, AWS IAM, and Amazon Cognito. You can also use custom Lambda authorizers for more complex authorization logic.
Code Examples
Here are some of the most used GraphQL-DynamoDB query examples: