How-To Copy DynamoDB Table To Another Account, Table or Region

Written by Rahul Ahire
Published on October 10th, 2022
Time to 10x your DynamoDB productivity with Dynobase [learn more]
Whether you want to copy your DynamoDB table data to another account, table, or region, doing so can be a tedious task. In this step-by-step guide (with screenshots), I'll walk you through how to migrate your DynamoDB table data the easy way.
The traditional way of doing this would be to create a custom pipeline or write your own specific script, but since that'll take us a lot of time, I'll be using Dynobase to make our life easier. Dynobase is a desktop-based visual admin tool for DynamoDB that simplifies data migration tasks. It's very well suited if you want to manage multiple regions and multiple AWS profiles in a single place, which is what we are trying to do in this use case. So let's get started by first downloading the 7-day free trial of Dynobase (no credit card required) by clicking here.
Preparation
- Download Dynobase
- Setup AWS CLI Profile(s) (skip this step if you've already done it)
Migrate DynamoDB Data - What Would You Like To Do?
- Transfer DynamoDB Table to Another Account
- Transfer DynamoDB Table to Another Region
- Transfer DynamoDB Data to Another Table
Setup AWS CLI Profile(s)
If you've not set up AWS credentials under ~/.aws, you'll see the following screen when you start Dynobase.
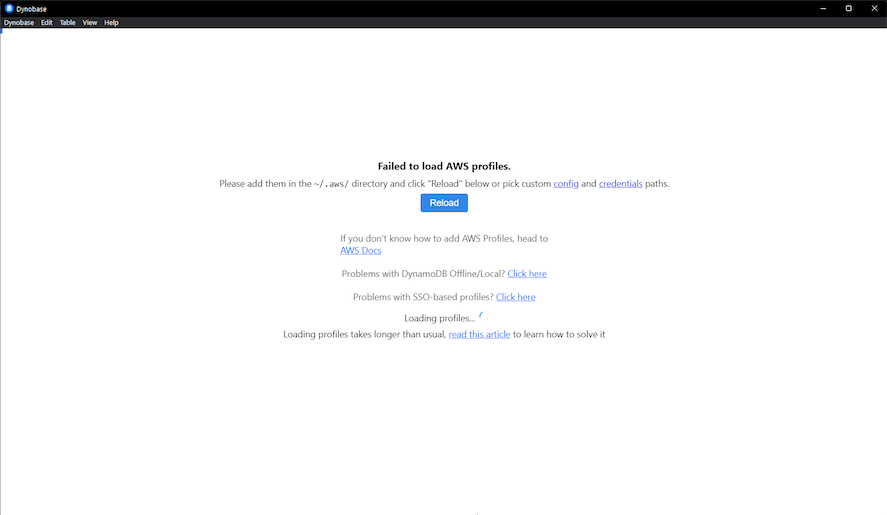
To have your credentials set up, follow the steps below:
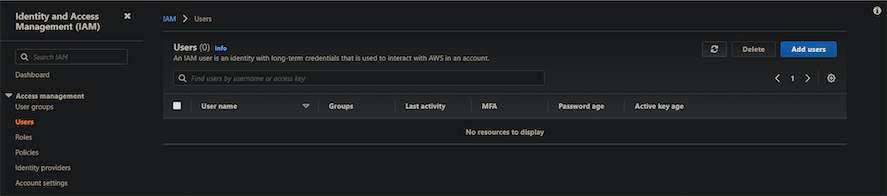
Step #1 - Set Up New IAM User
Part 1 - Get the credentials from the web console by creating an IAM user.
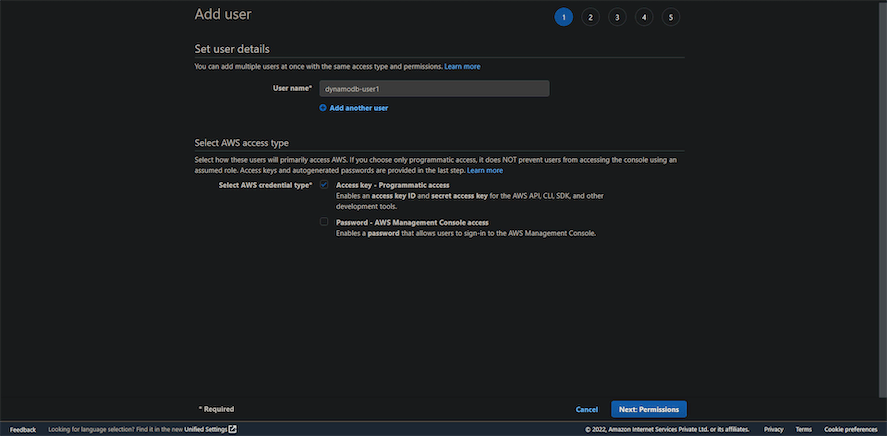
Part 2 - Select a name and tick the checkbox to confirm you want to create credentials to get programmatic access.
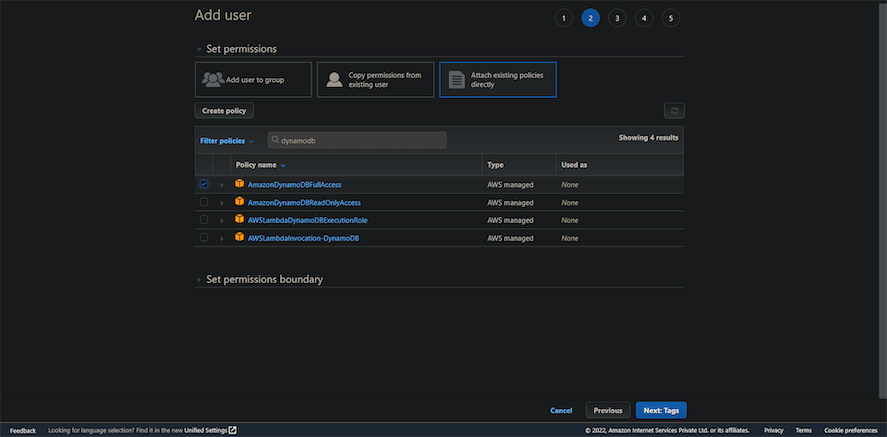
Part 3 - Type DynamoDB in the input and select AmazonDynamoDBFullAccess. This will give us enough permission to do our task but beware of what permission you give other users in the organization for safety and security purposes.
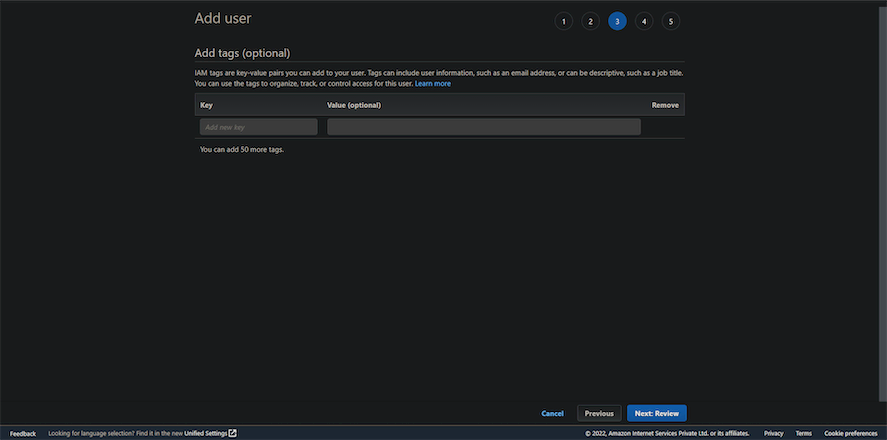
Part 4 (optional) - If you want to tag your users, you can fill in the details, but I've personally left it empty.
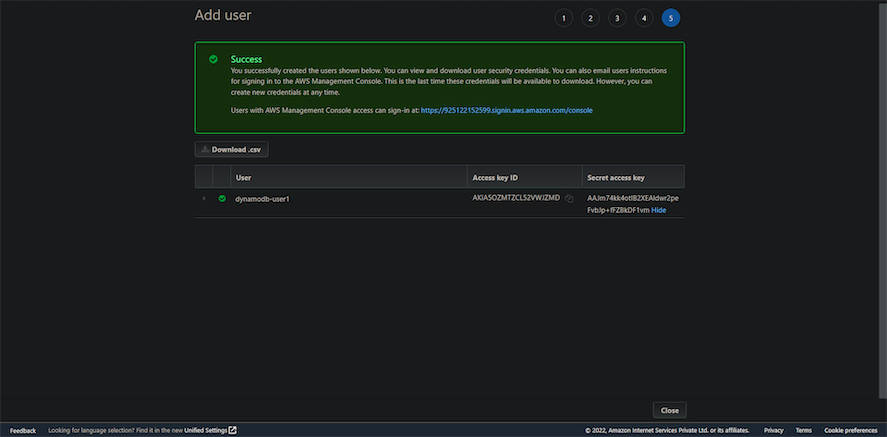
Part 5 - Hit the review button and then create the user. You'll be shown the credentials.
Step #2 (final step) - Configure AWS Profiles via CLI
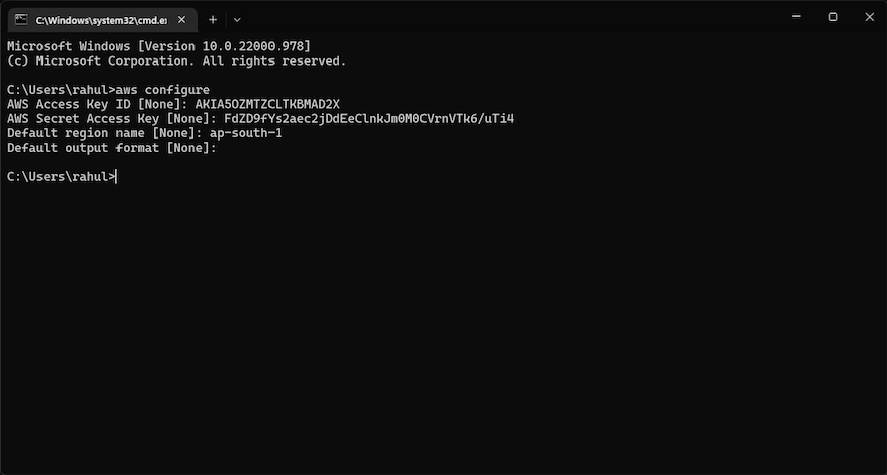
Part 1/2 - Setting Up 1st Account - We'll need to use AWS CLI to configure the credentials as shown below by using the command aws configure, which will create a default user.
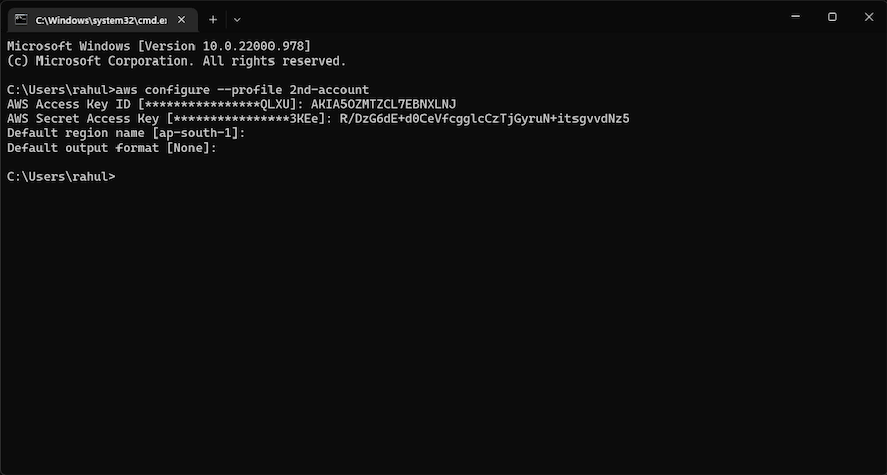
Part 2/2 - Setting Up 2nd Account (only relevant if you'd like to transfer table to another account) - To migrate your DynamoDB table to another account, you'll need to gather credentials from the second account and create another profile with AWS CLI using the following command - aws configure --profile 2nd-account - Here, 2nd-account reflects the name of the profile, and it can be anything you like. For more information on setting up multiple AWS profiles, please see this article.
Transfer DynamoDB Table to Another Account
Step #1 - Open Dynobase
Step #2 - Export Table Data
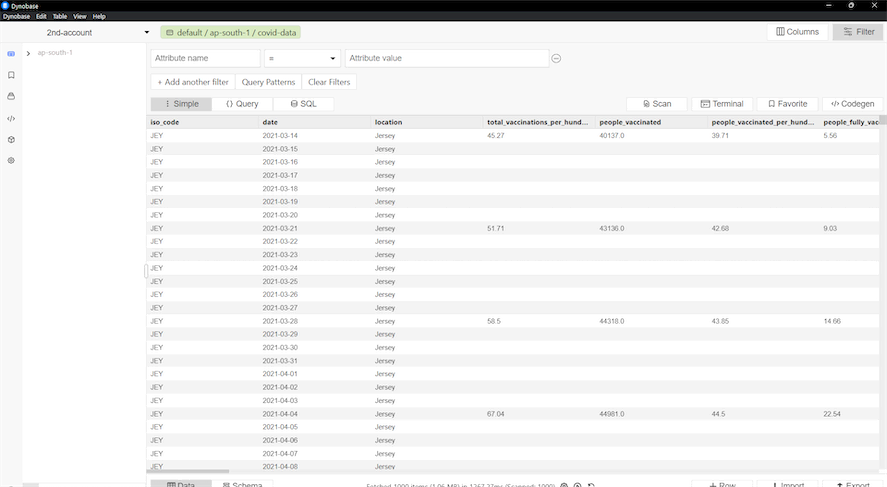
Part 1 - To begin the data migration, we'll first need to export the table locally on our PC. Click on the Export button in the bottom-right corner.

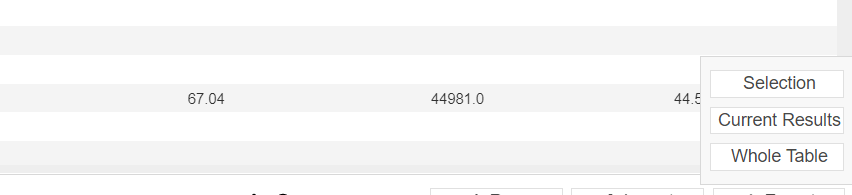
Part 2 - Select Whole Table.
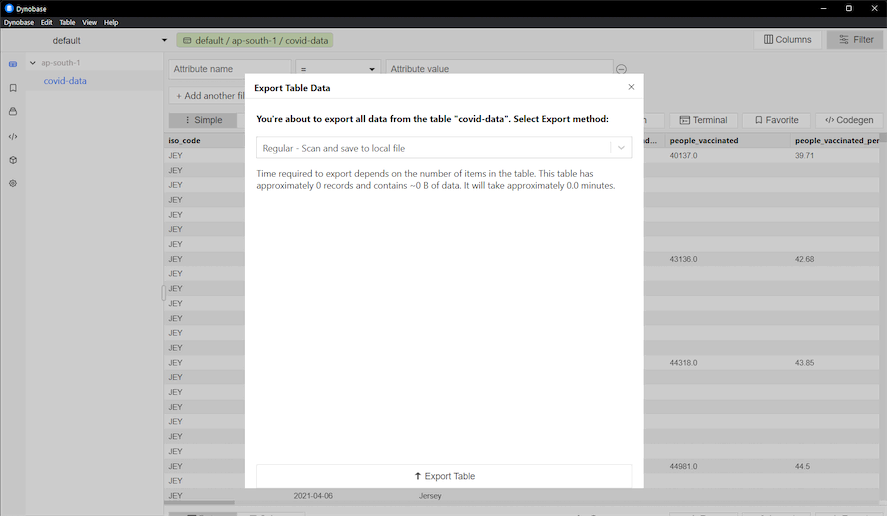
Part 3 - Select the default option and click on Export Table.
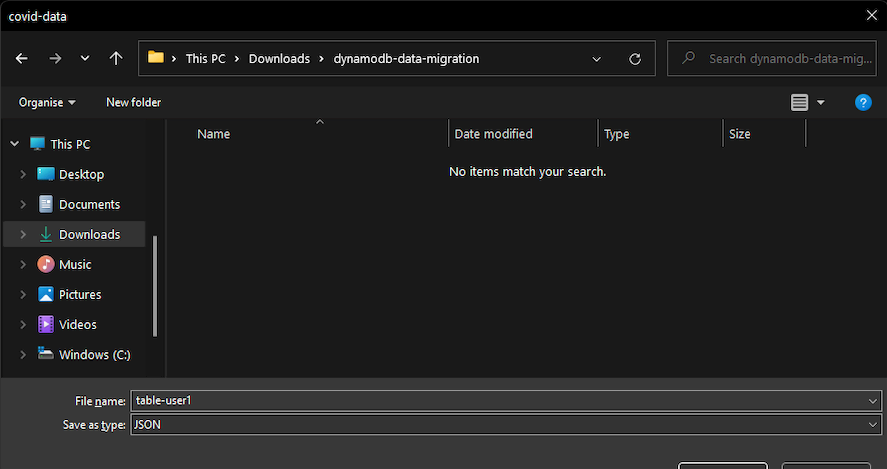
Part 4 - Choose the file location, and the data will be saved in JSON format.
Step #3 - Add 2nd-Account to Dynobase
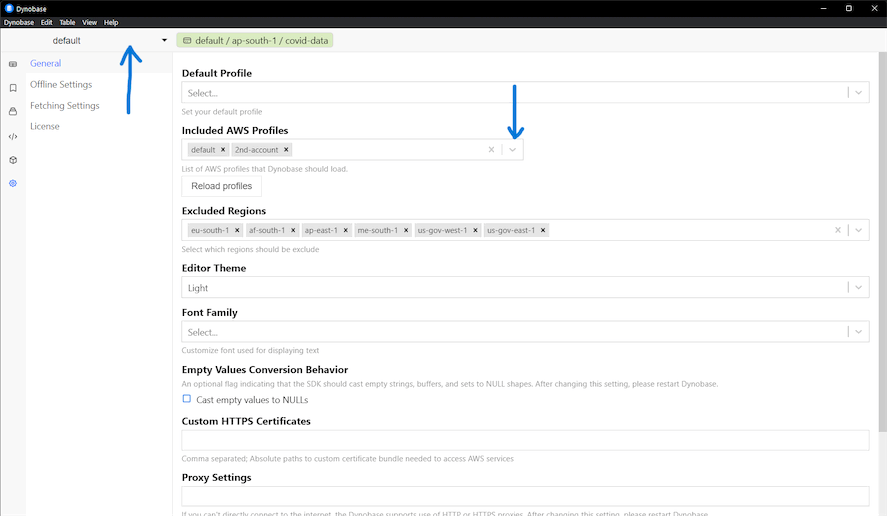
Part 1 - Now that you've exported the file, let's move on to importing the 2nd-account we created via CLI to Dynobase. Click on the default dropdown above and then choose + Select more profiles. Select your 2nd-account profile in the Included AWS Profile dropdown and then click on Reload profiles.
Part 2 - Again, in the top-left profile dropdown, select our newly added 2nd-account.
Step #4 - Create Table in New Account
Part 1 - Click on the + icon on the bottom-left side to create another table.

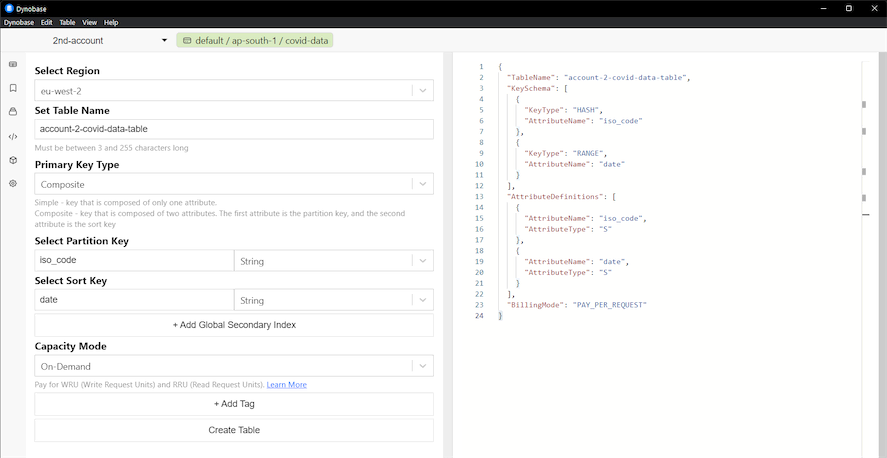
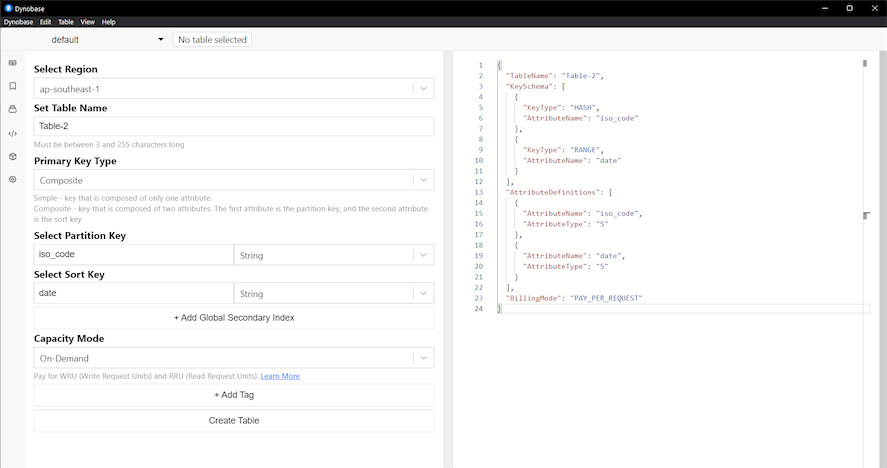
Part 2 - Enter the table name, and after configuring the Key names exactly the same as the table you exported data from, click on Create Table.
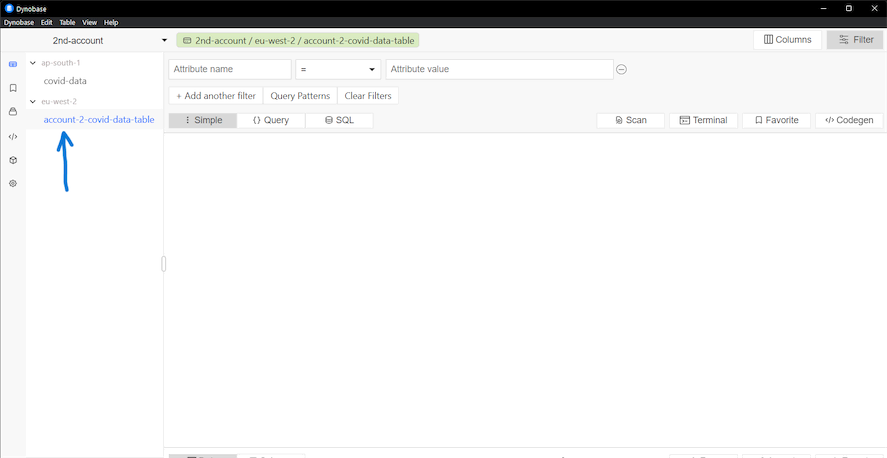
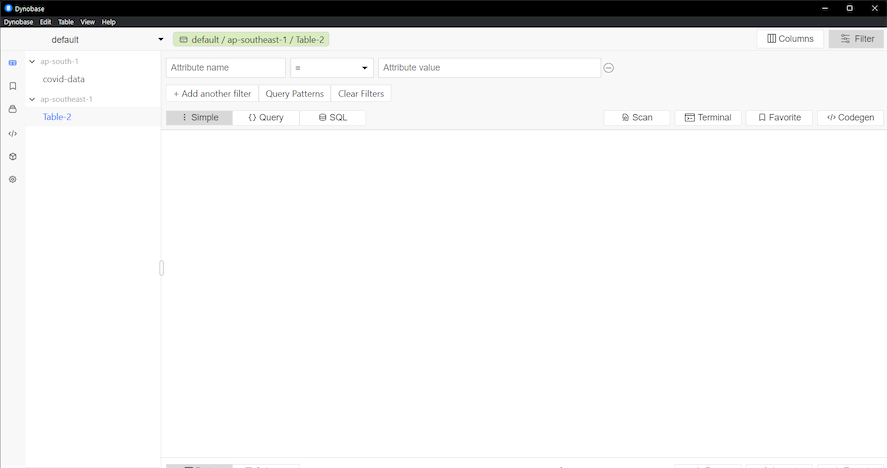
As you can see, we can now see the newly created table here.
Step #5 (Final Step) - Import Data to Table in New Account
In the bottom-right, click on the Import button - after which you'll see the following wizard:
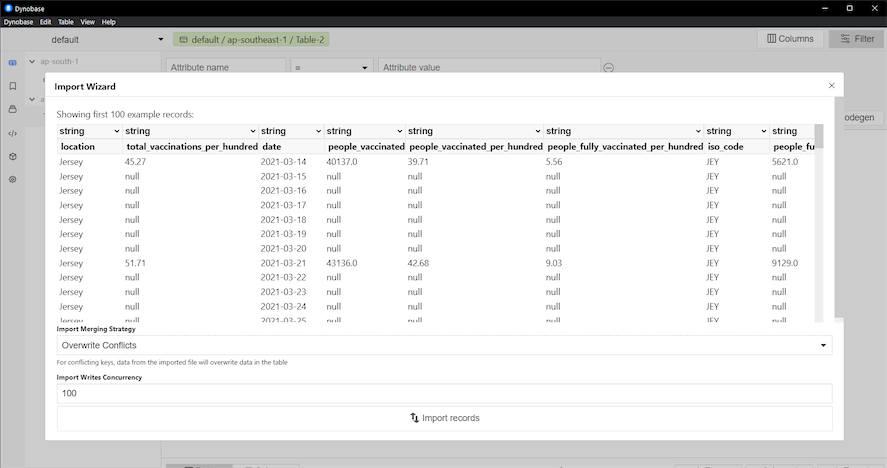
Click on Import records to initiate the import process. This process will take some time, depending on how large the file is.
And there you have it, all the items were successfully imported to another table with the exact count of 96,208 items as shown below.
As a security measure, do delete the IAM user created above via the AWS console once you're done with this.
Transfer DynamoDB Table to Another Region
Step #1 - Open Dynobase
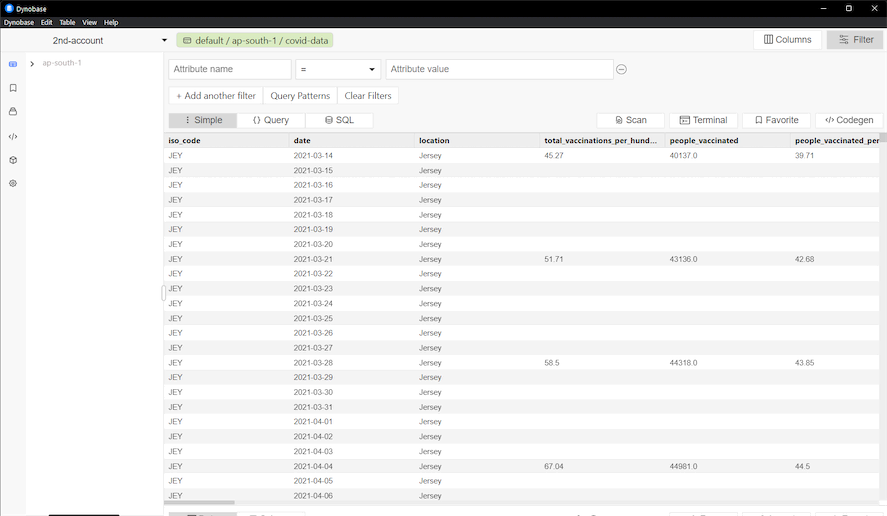
Assuming you've already configured your IAM credentials, you should be able to see all the tables on your account like below.
Step #2 - Export Table Data
Part 1 - To begin the data migration, we'll first need to export the table locally on our PC. Click on the Export button in the bottom-right corner.
Part 2 - Select Whole Table.
Part 3 - Select the default option and click on Export Table.
Part 4 - Choose the file location, and the data will be saved in JSON format.
Step #3 - Create New Table in Another Region
Part 1 - Click on the + icon on the bottom-left side to create another table.
Part 2 - Give your table a name, configure the Key names exactly as the original table and make sure to select the right region where you want to upload all the data. Finally, click on Create Table.
As you can see, the created table is being reflected here.
Step #4 (Final Step) - Import Data to Table in New Region
Part 1 - In the bottom-right, click on the Import button - after which you'll see the following wizard:
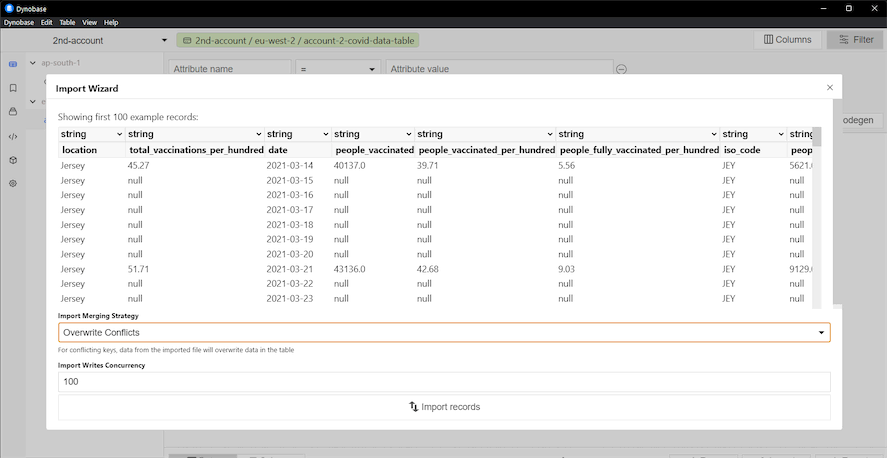
Click on Import records to initiate the import process. This process will take some time, depending on how large the file is.
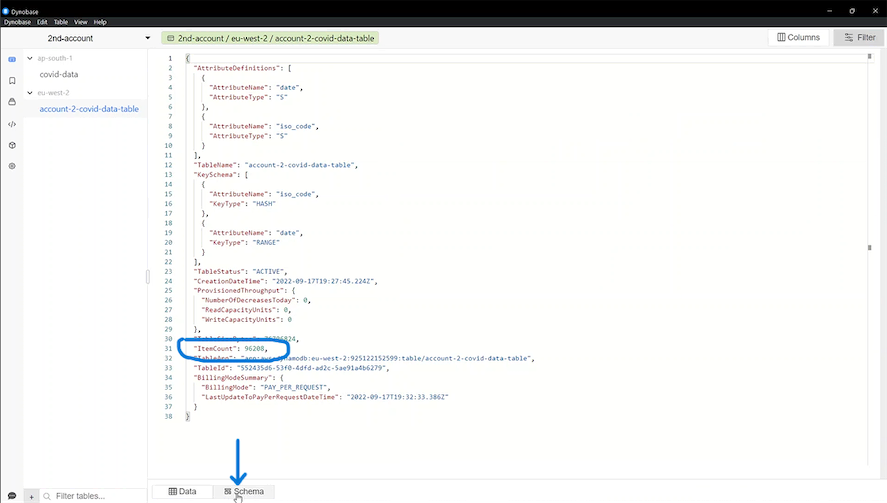
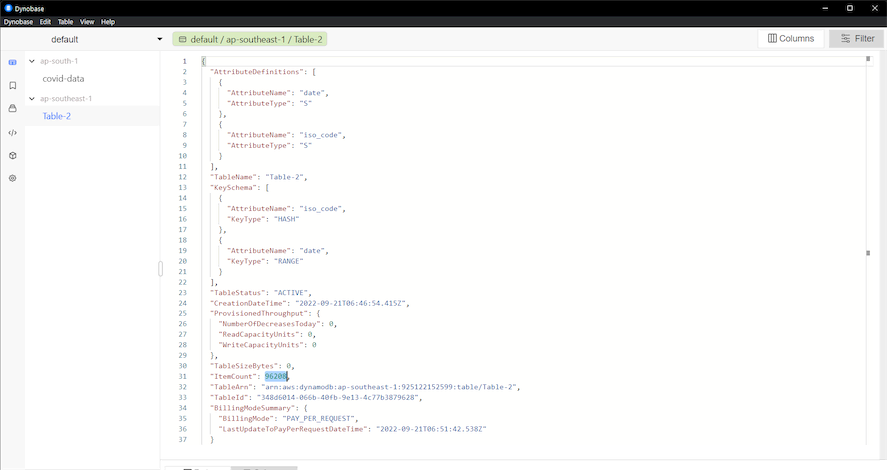
And there you have it; all the items were successfully imported to another table in another region with the exact count of 96,208 items which you can access in the Schema Tab.
Transfer DynamoDB Data to Another Table
Step #1 - Open Dynobase
Assuming you've already configured your IAM credentials, you should be able to see all the tables on your account like below.
Step #2 - Export Table Data
Part 1 - To begin the data migration, we'll first need to export the table locally on our PC. Click on the Export button in the bottom-right corner.
Part 2 - Select Whole Table.
Part 3 - Select the default option and click on Export Table.
Part 4 - Choose the file location, and the data will be saved in JSON format.
Step #3 - Select Table You Want To Import Data
From the table list, select the one you'd like to import this data into.
Step #4 (Final Step) - Import Data to Table in New Region
Part 1 - In the bottom-right, click on the Import button - after which you'll see the following wizard:
Click on Import records to initiate the import process. This process will take some time, depending on how large the file is.
Additional Considerations
When transferring data between accounts, regions, or tables, it's important to consider the security implications. Ensure that the IAM roles and policies are correctly configured to avoid unauthorized access. Additionally, be aware of the costs associated with data transfer, especially when moving large datasets across regions. AWS charges for data transfer between regions, and these costs can add up quickly.
Another important aspect is to monitor the performance of your DynamoDB tables after the data transfer. Ensure that the read and write capacities are appropriately set to handle the new load. You might also want to enable DynamoDB Streams to capture changes in your tables and replicate them in real-time to other tables or regions.
Lastly, always back up your data before performing any migration tasks. AWS provides several options for backing up DynamoDB tables, including on-demand backups and point-in-time recovery. These backups can be invaluable in case something goes wrong during the migration process.